Top 5 Steps to Get Your Lab Ready for 2025
Another year done and another chance to completely forget how to start doing our jobs again. It just doesn’t make sense. We do the same general things year after year, but for some reason something happens to our brains over the holidays, and we just don’t remember how to start again.
Well, this year I’ve decided to change all of that. Not for me of course, I like chaos, but for you, I have a helpful list of items that are going to help you get your lab ready for the paving season.
I have created a brand-new checklist to get your lab ready for 2025 that highlights all of the areas that need to be focused on. It goes over equipment basics, consumables, general housekeeping, Chemicals, and your calibration items.
If you don’t have the time to read through everything right now, click the link below to get the checklist sent directly to your inbox.
Now, without further ado, here is our Season Startup Checklist:
Step 1: Equipment
Scales
These things usually sit in the same place year after year and over the season they tend to collect a lot of dust. Make sure you wipe off the scale platform (if your calibration company doesn’t already do this for you) and check to make sure it is level. We see a surprising number of scales that aren’t level out in the field.
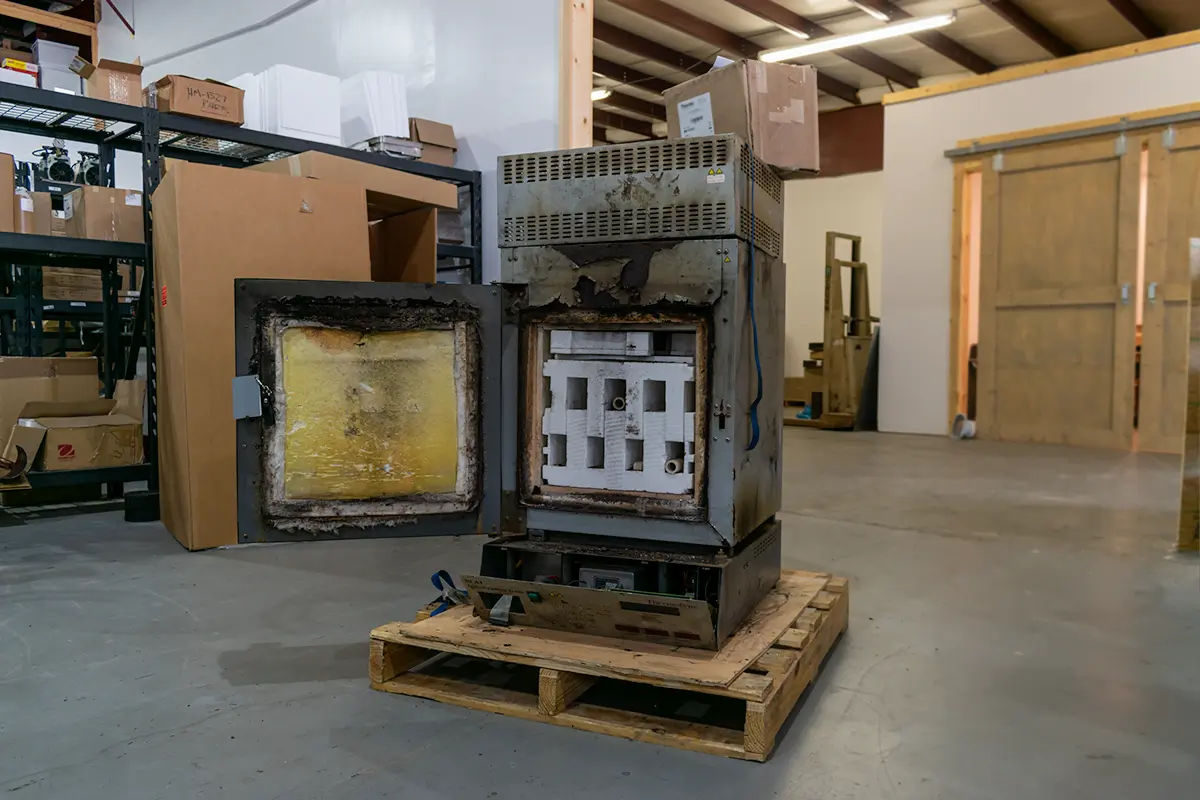
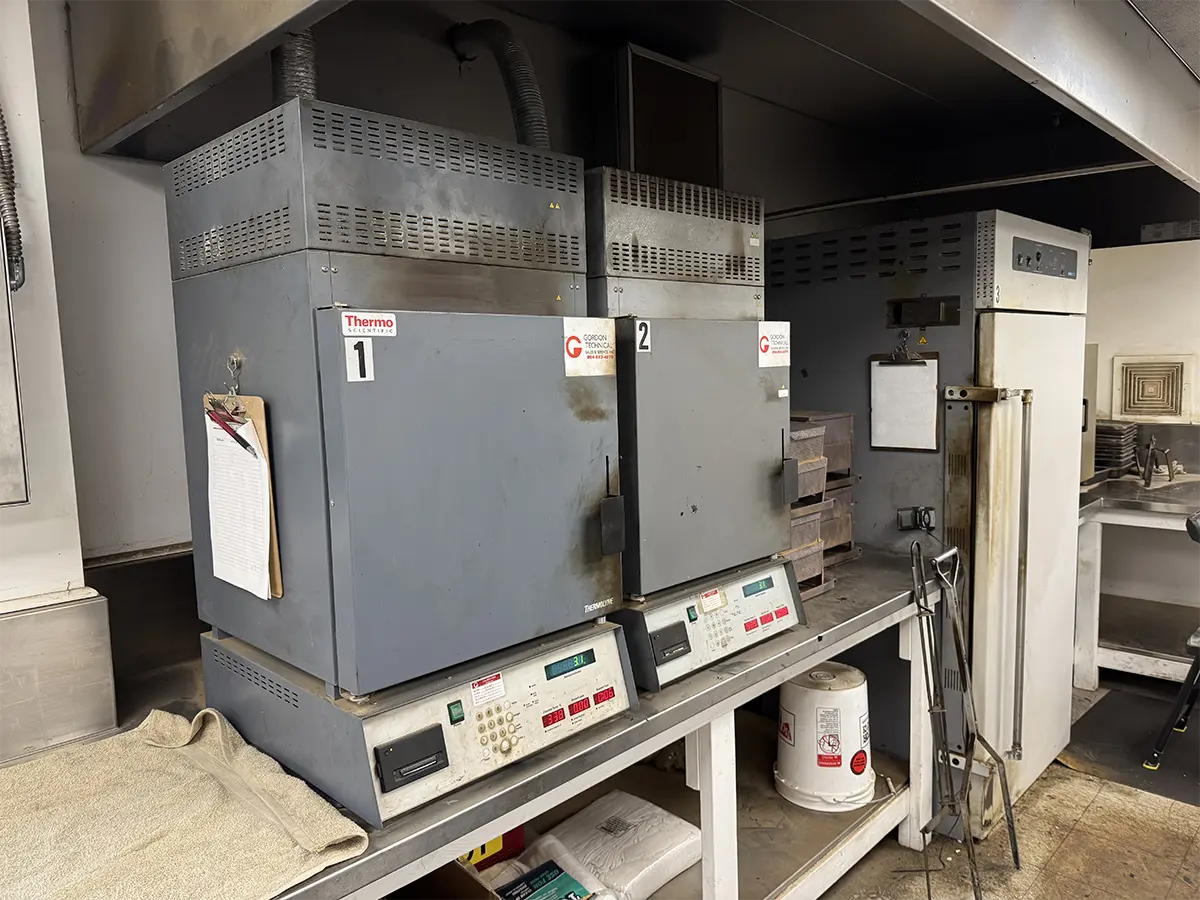
Ovens
Most lab ovens are built to take the abuse of a lab, but over the season there are a few components that will wear out after normal use. These are the gaskets and door latches. Visually inspect the door gaskets and make sure they still have a good seal, and then open and close the door a few times to see if the latches are still working and secure. While you’re at it, go ahead and turn on the oven and wait until it’s up to temperature. Your oven temperature should be stable.
These are things that we include in our calibrations, but other calibration companies might not include preventative maintenance in their services.
77° Water Bath
For a 77° water bath to work properly you’ll need to check that the heaters are heating, and that the circulator pump is moving water throughout the entire bath. This is also a good time to make sure that you flush out the water and remove any debris from the tank. When filling the tank back up, don’t forget to add a cap full of bleach. Most mold and bacteria hate that one trick.
Rice Vacuum Pump
These pumps do a lot of heavy lifting, especially when they work so closely with their mortal enemy, water. If you’re working with an oilless pump, make sure to clean out/replace the muffler as needed. If you’re working with an oil pump, make sure you replace the oil in the pump.
CoreDry
The CoreDry is a staple in a lot of labs and needs annual attention to keep it going for a long time. Always make sure to replace the oil regularly to keep the vacuum pump working and replace the filters. Your calibration company should already be doing this for you once a year during calibrations.
CoreLok
The CoreLok should also have its oil changed and its filters replaced frequently to keep it working strong. You should also make sure the sealing bar is working and that it seals bags like normal. If it’s not, call a service company to repair it (We can do that as well).
NCAT
The NCAT needs a lot of regular maintenance to keep running properly, but there are a few things that you can check in the beginning of the season to lower the likelihood of emergency service during the year. Before your season starts, check the draft of your unit. An ideal draft is anywhere between –5 to-8 g. Anymore and you can kiss your fines goodbye, any less and your burns will take forever. Next, make sure your printer paper is full. Nothing is worse than running out of paper after a few burns. Finally check that your heath plate doesn’t have any cracks or nicks in it (we have ones that don’t break) and replace it if it does.
Gyratory
The gyratory gets very dirty throughout the paving season. You can find tons of debris inside and out. Make sure you clean the debris off all the surfaces, so asphalt doesn’t go where it’s not supposed to be. You don’t need a gyro going down mid-season. This is also a perfect time to check your gyratory molds for deep gouges and scratches. If there are any, make sure you get your molds resurfaced. Resurfacing costs less than a new mold and the chrome that’s added lasts roughly 3 times longer than steel.
This is also a good time of the year to clean your molds properly. Fill a 5-gallon bucket with Purple Power and soak your molds in the stuff for about 2 hours. Pull out and wipe dry scrubbing where needed. It’s simple, easy, and the purple power can be re-used for all of the molds in your lab. It’s also biodegradable if you’re into that sort of thing.
Sieve Shakers
The most important thing to check is the paddles on a sieve shaker. Make sure they are all in the correct place and that none of them are too worn for the season. This is the best time of year to replace paddles and covers.
Sieves
Checking your sieve mesh during the off season allows you to place replacement orders at the perfect time. Any sieve you’re replacing will be there before the season begins and you’ll know that your sieves are in great shape.
There’s most of your equipment out of the way. If you’d like to take a break and get our checklist emailed to you, fill out the form below.
Step 2: Consumables
Lab consumables are those pesky things we use every day and only notice them when they’re gone. This year let’s try and keep that from happening by going down our list and ensuring that everything is stocked well before the season. You can click on any of the items and add them to your cart.
Step 3: Housekeeping
Now is the time to deal with the chair leg that kept getting in your way, and that floor mat that’s curled up in the corner. Good housekeeping is paramount to a successful season. You would be surprised how much time you can save by not having to dodge things in your lab.
First and foremost, you should clean up the debris on your floor. This includes underneath your lab tables and chairs. Clean up around the shakers and your LA Abrasion machines. Also make sure to focus on areas where you bring in your samples. Keeping the floor clean means not having to walk around spills and reduces the risks of slips and falls.
Next focus on power cords and make sure that none are extended out into any of the walking paths. These cords can get wrapped around shoes and either cause falls, or a very expensive repair bill. Both should be avoided
Then make sure all floor mats are either taped down or secured so there are no tripping hazards. Also, if you don’t have any, we would highly recommend them.
After the floors are cleaned and clear you should focus on your tables and surfaces. Make sure there’s no debris hidden in corners and that all surfaces are wiped down.
Then you should make sure there are no fragile items on the edges of tables. This is a terrible way to spend your budget, and it happens a lot more often than you would think.
Step 4: Fluids and Cleaning Supplies
Let’s not forget the silent heroes of our lab. Murphey’s law runs tried and true on our industry. When it’s the worst possible time during the year to run out of stuff, that’s when you do. So, this year, let’s make sure to have what we need on hand so we never have to worry again.
Focus on these things and you shouldn’t need to restock.
Step 5: Gather Calibration Equipment
These are the things that you send out to get calibrated. They should all be in the same place and boxed up and ready to go when it’s time for their annual calibration. These include:
Asphalt QC lab preparation
And there you go. There are our top 5 steps to getting your lab ready for paving season. Use this as a starting point and add to it as needed to comply with your state. All of the equipment checks are included in our calibration service, so if you still need to schedule, give us a call at 804.893.4076 or use our form.
Finally, what did you think of our list? Are we missing anything that you feel we should have on here? Reach out to me at ryang@gtssi.net and let me know.